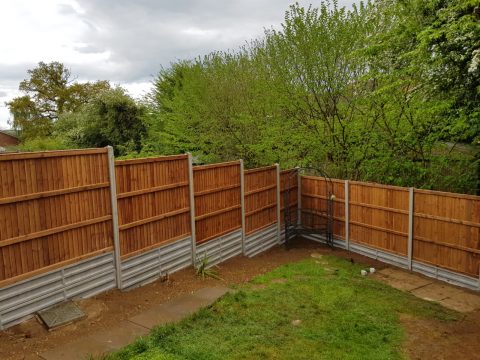
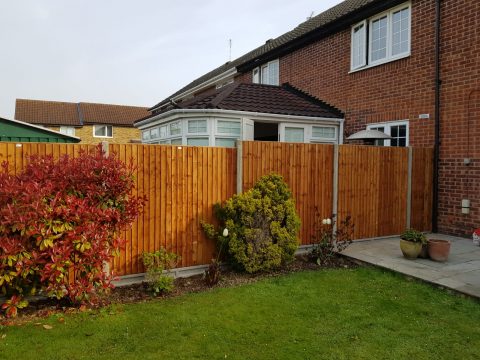
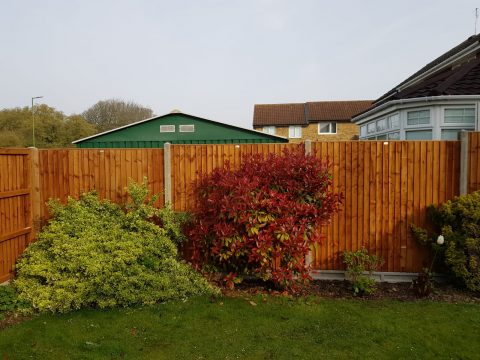
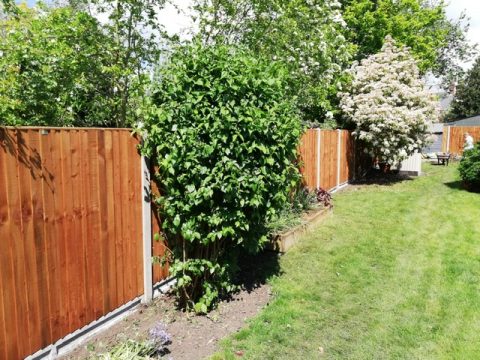
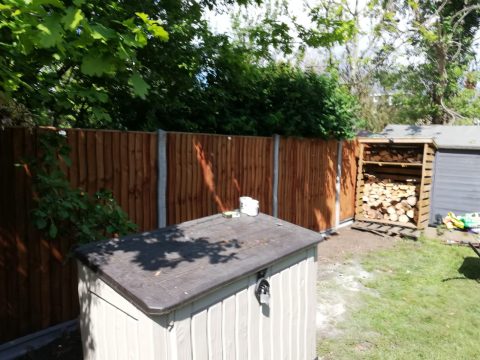
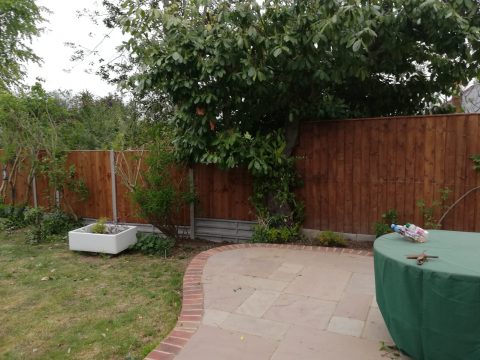
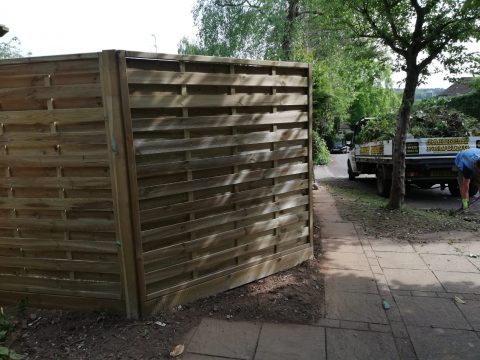
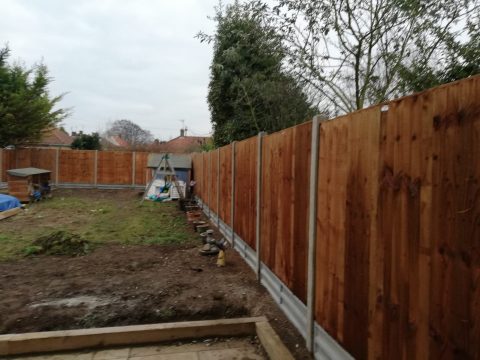
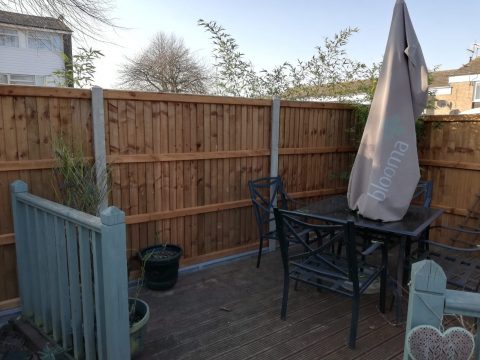
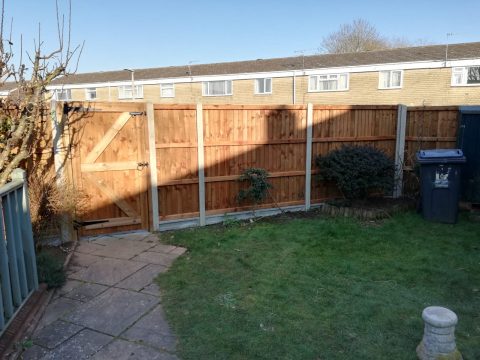
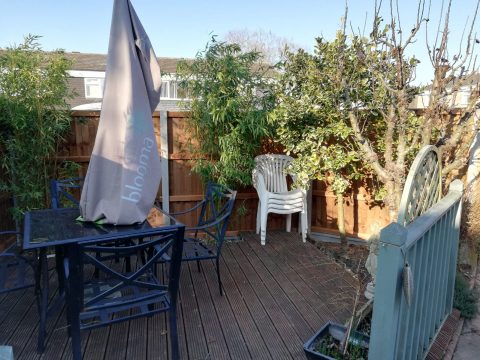
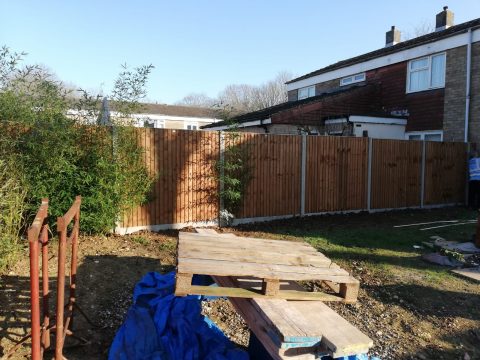
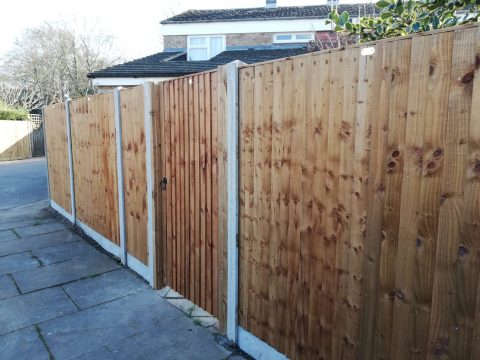
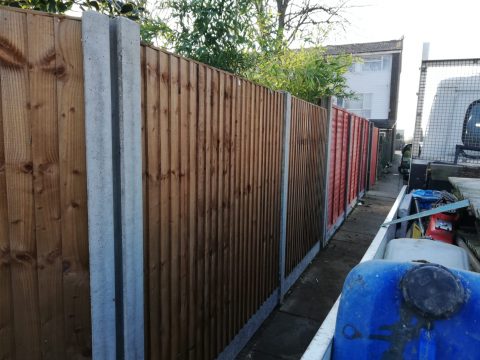
 More examples of our heavy duty closeboard panels being installed to some of our jobs, recently completed.
Category: General Interest
Items of general interest.
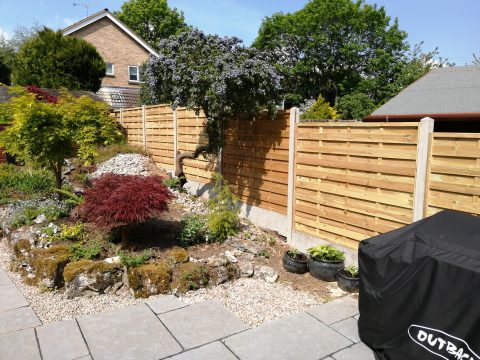
Elite St Esprit panels in Welwyn
Just finished a job in Welwyn fitting 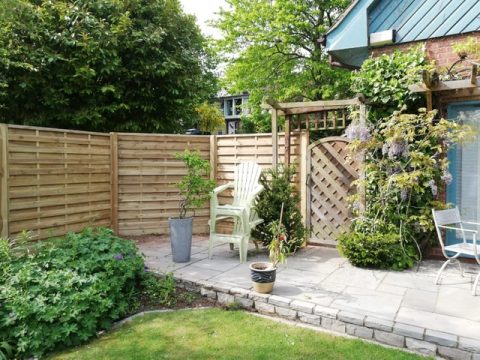 St Esprit panels.
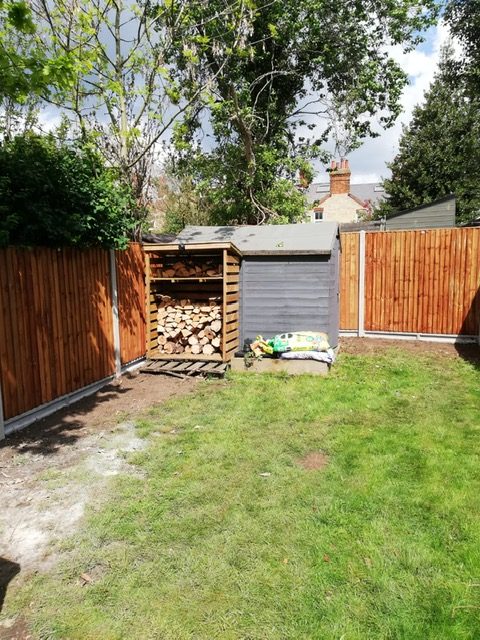
Work shop in Tewin
We supplied and fitted a workshop shed to a property in tewin.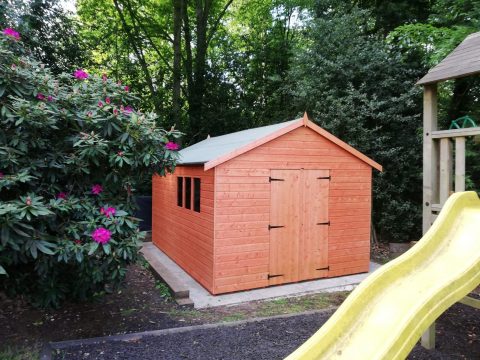
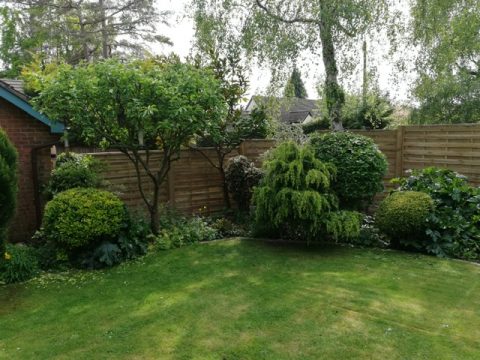
Landscaping works at Grosvenor Court Stevenage
We had to take down an existing fence and re-erect in new position on new posts and excavate earth from two areas, then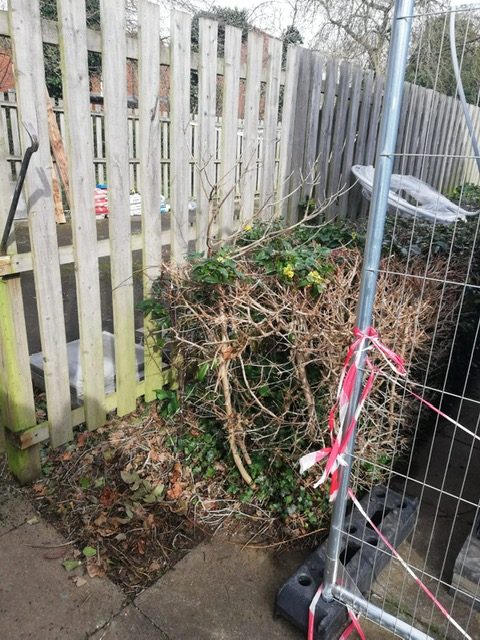
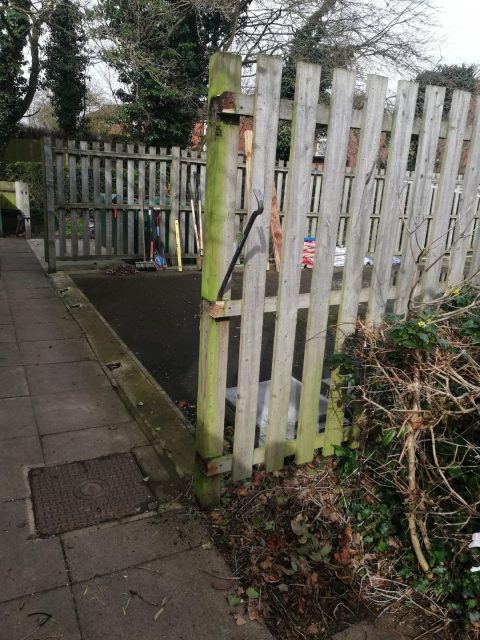
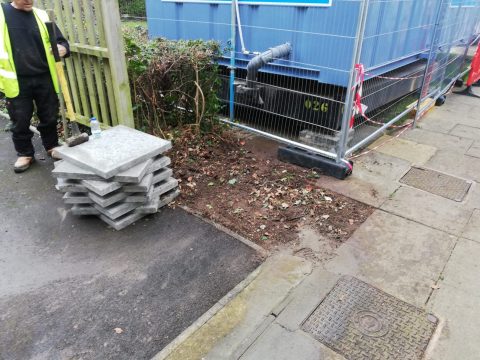
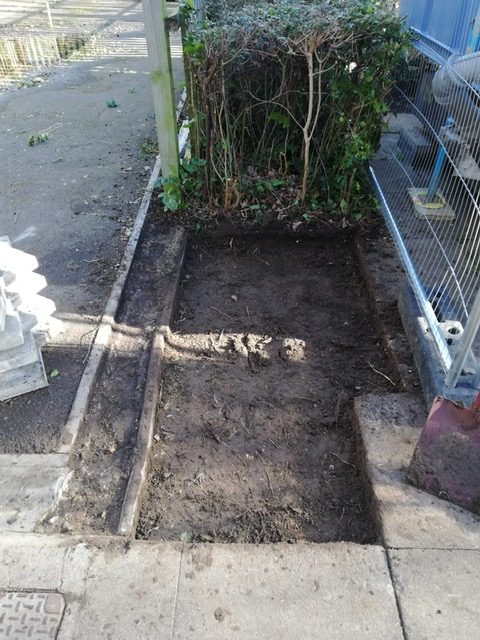
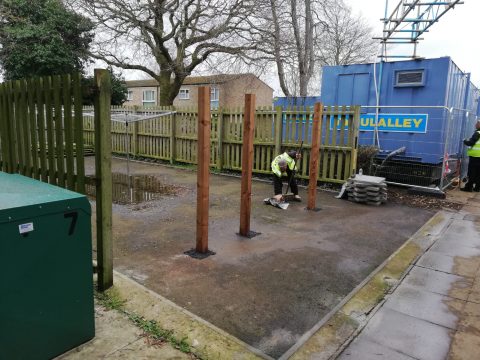
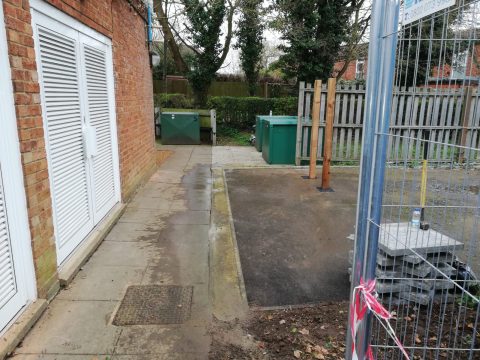
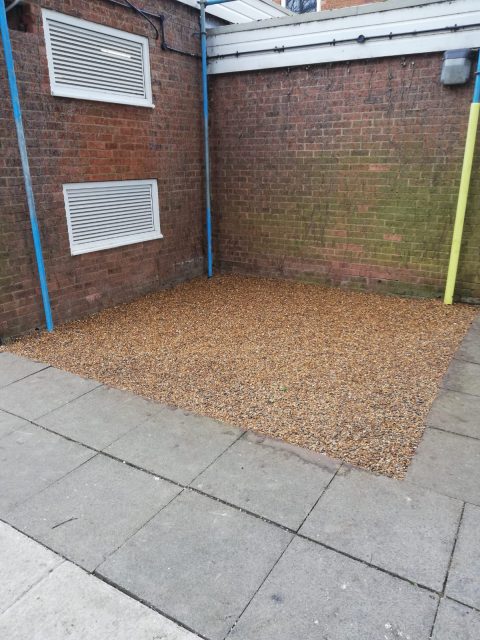

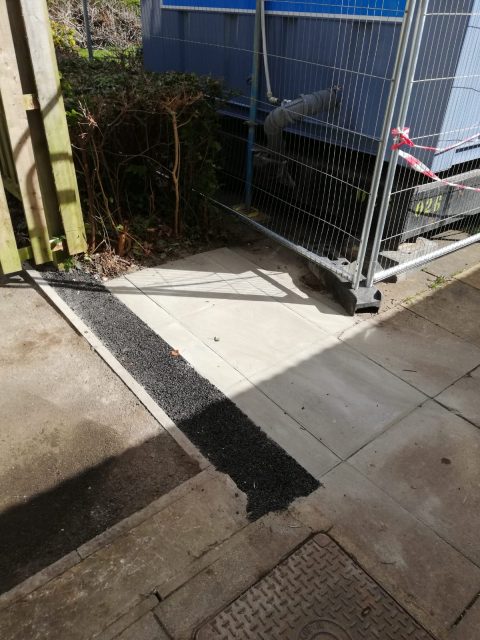 make good with concrete slabs and Pea-shingle.
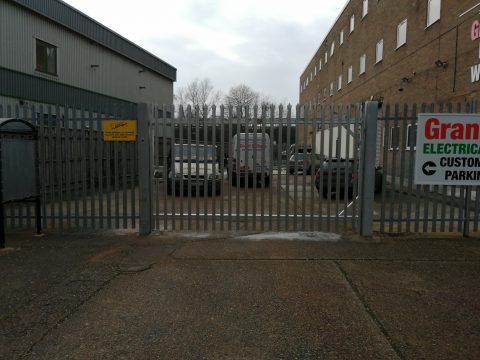
Heavy Duty Steel Palisade Gates In Stevenage
We recently installed a bespoke pair of heavy duty steel palisade gates including posts, to an industrial site in Stevenage.
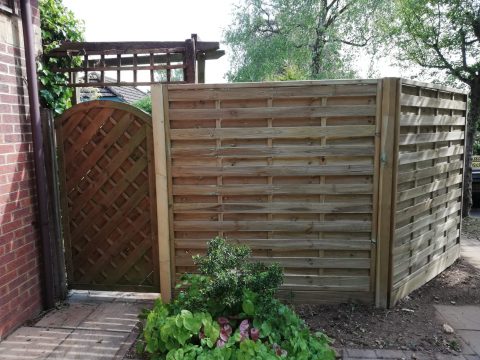
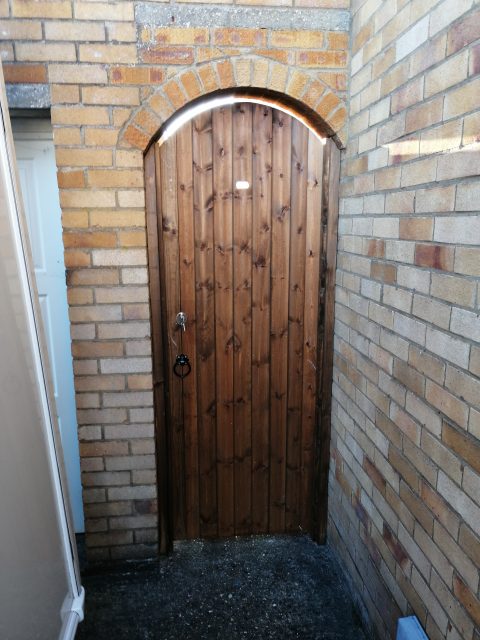
Cromer Gate In Stevenage
We installed a Cromer domed topped gate within existing brick archway, in Stevenage.
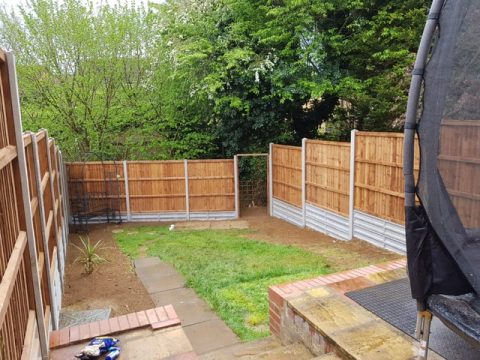
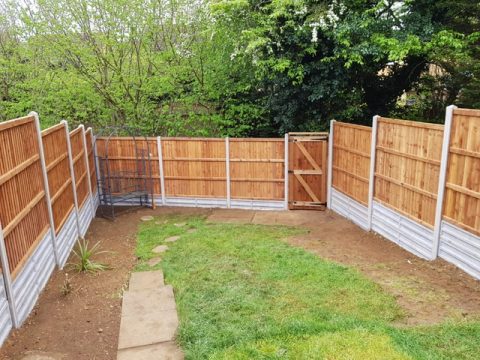
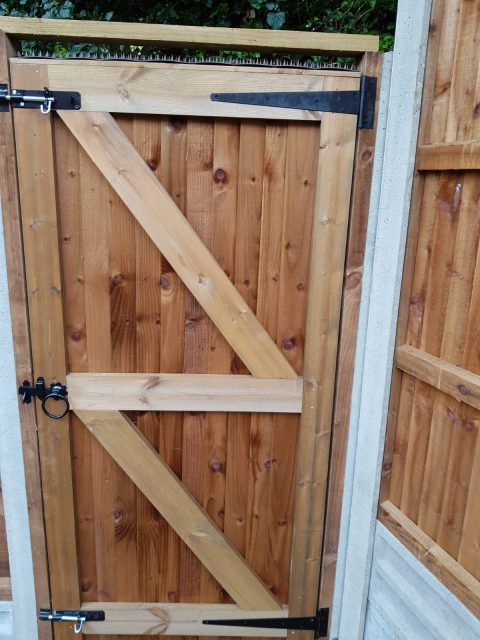
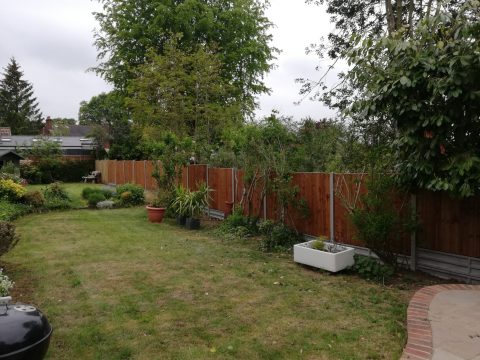
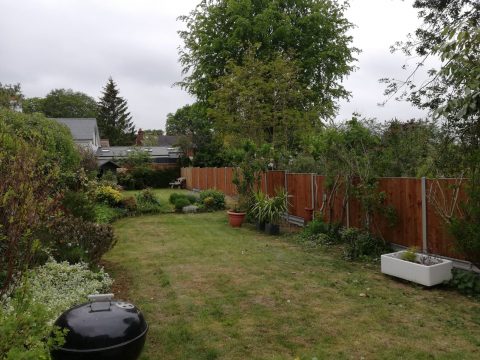
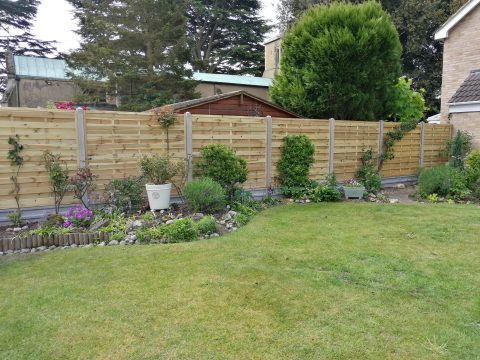
Be-spoke made to measure closeboard panels in Henlow
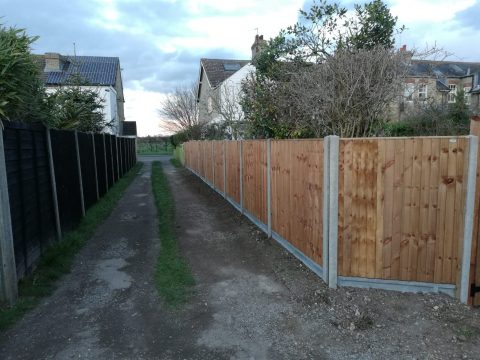 We have just finished a job in Henlow, Bedfordshire.
The job consisted of bespoke made to measure closeboard panels, set on 6 inch high concrete gravel boards, supported by slotted concrete posts, along with a matching closeboard gate.
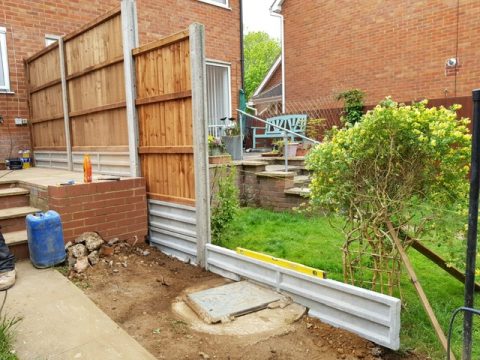
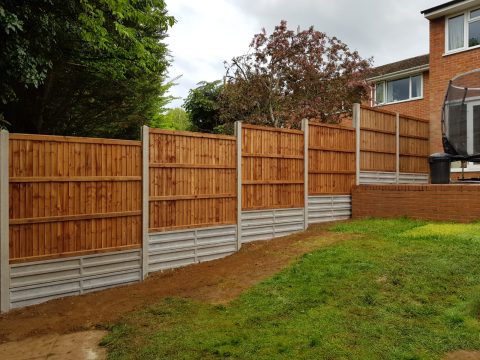
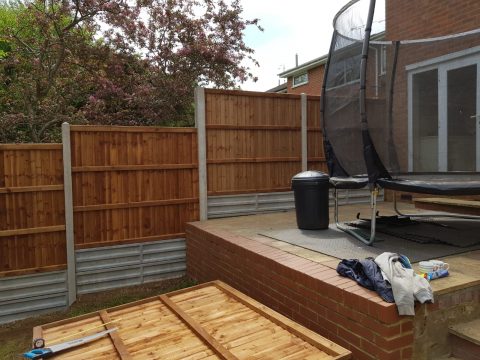
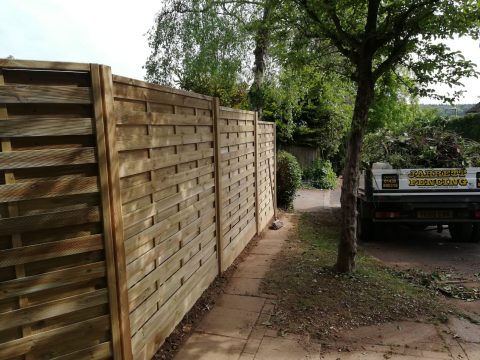
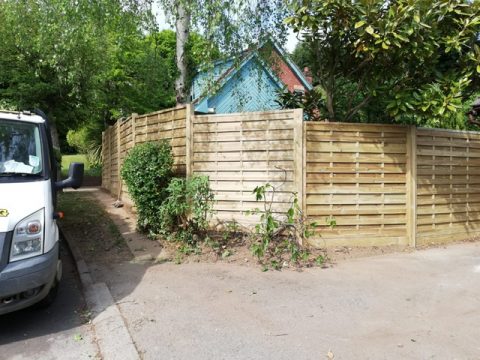
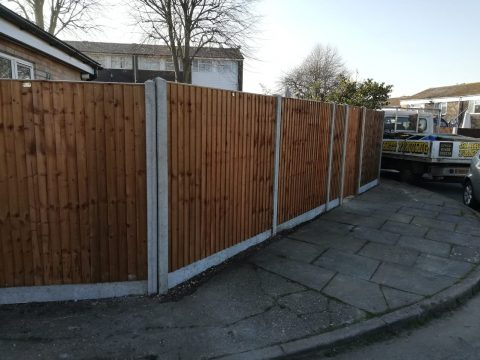
More examples of closeboard panel fencing we have carried out this week
Another Happy Customer
I would like to thank you and your company for the work that was carried out at our property last week.
A special mention must be given to Lee who completed the work to a very high standard. Lee was very polite, friendly, helpful & respectful, whilst always being punctual. He regularly updated me on all aspects of the work throughout the project, giving reasons for decisions as well as sound advice where necessary & required. Lee approached his work in a cheerful, professional & conscientious manner, forgoing breaks & giving the work his full attention.
We will have no hesitation in recommending Jarrett’s whenever an opportunity arises.
Thank you once again & please do convey our appreciation & kind wishes to Lee.
Yours sincerely Mr Stacey
Winter Discount on Installation works
We at Jarrett Fencing have introduced a promotional offer on all installation works for the winter period.
Please contact us while offer still lasts.