Just recently finished a job in Knebworth, where we installed a picket fence with round top palings, supported by 100mm x 100mm timber four way weathered posts, enclosing pond within the customers rear garden.
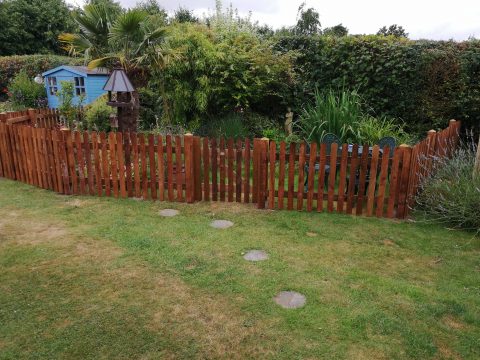
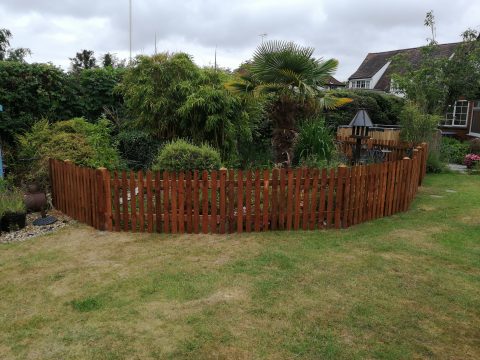
Just recently finished a job in Knebworth, where we installed a picket fence with round top palings, supported by 100mm x 100mm timber four way weathered posts, enclosing pond within the customers rear garden.
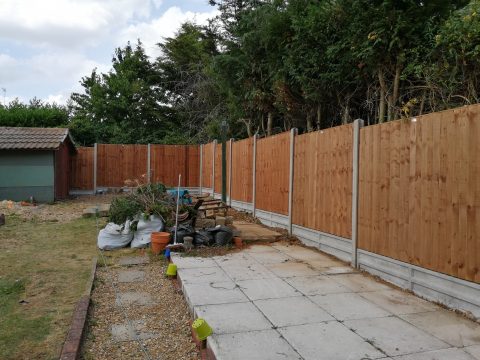
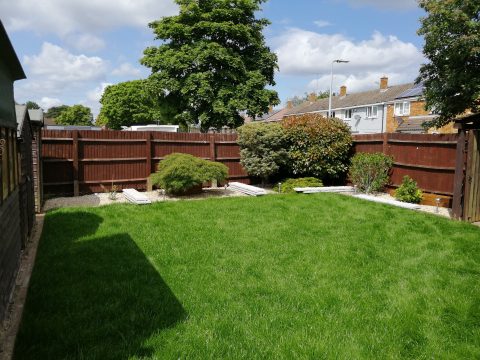
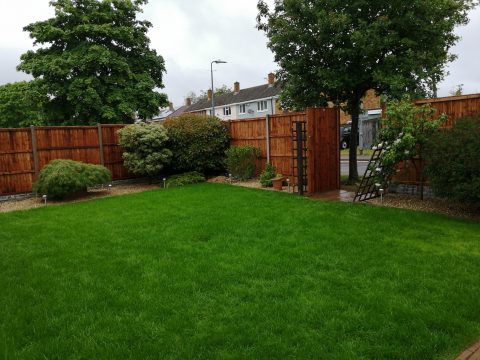
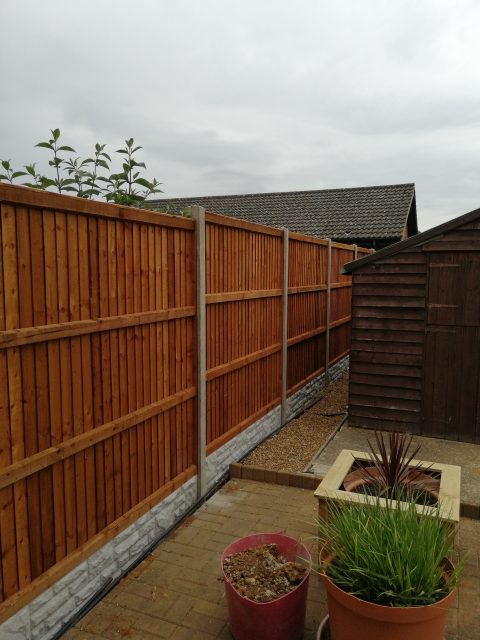
Just finished another job in Stevenage, installing 5ft high closeboard panels set on 12inch high concrete gravel boards, supported slotted concrete posts.
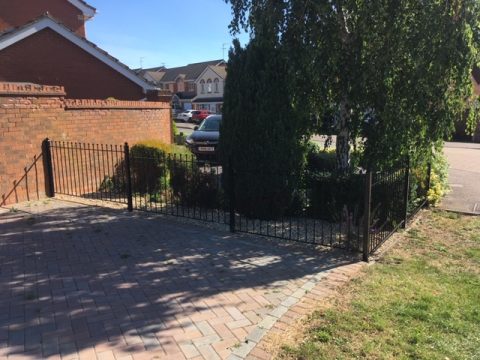
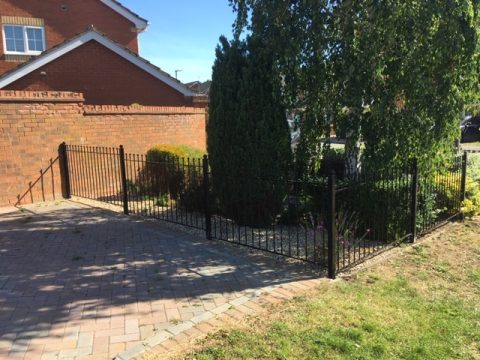
Just completed a job installing Manor railings to side of front garden to a property in Stevenage.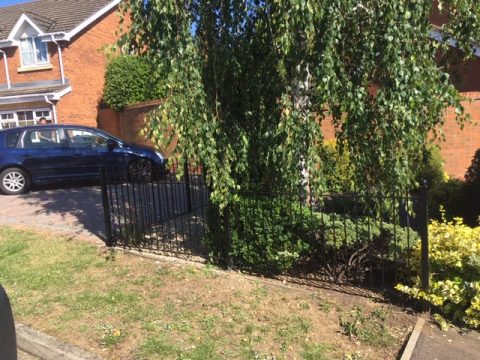
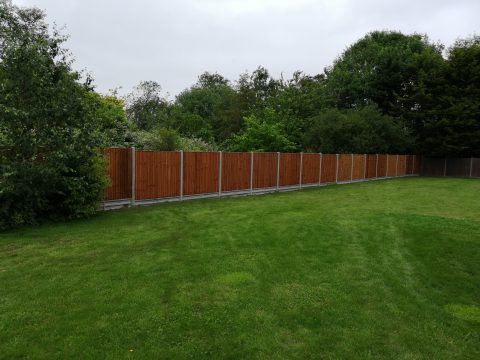
We just finished a job in Weston Fitting closeboard panels set on concrete gravel boards, supported by slotted concrete posts in Weston.
We installed a made to measure Benington gate complete with black ironmongery including a double locking key lock. Plus a small infill section of fencing, adjacent to brick pillar.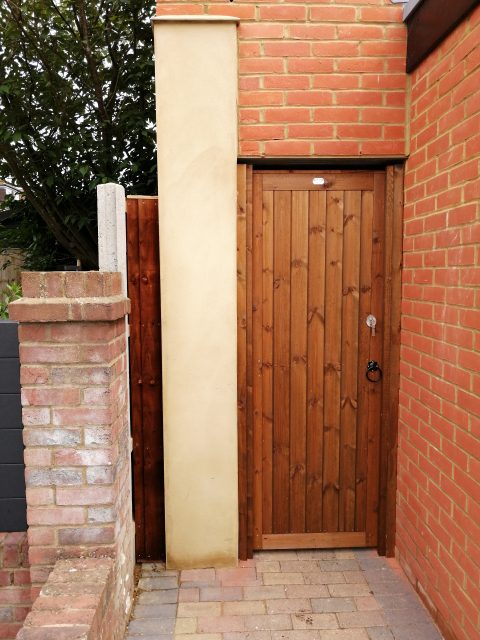
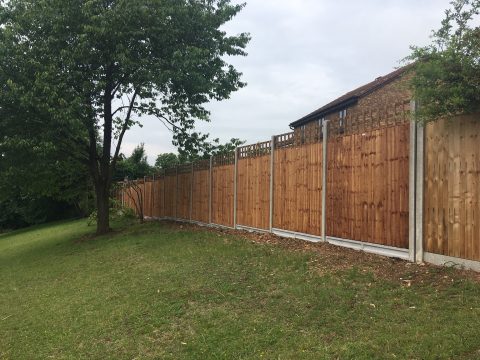
Just completed a run of fencing in Chells Manor Stevenage which included Closeboard panels with 1ft trellis on top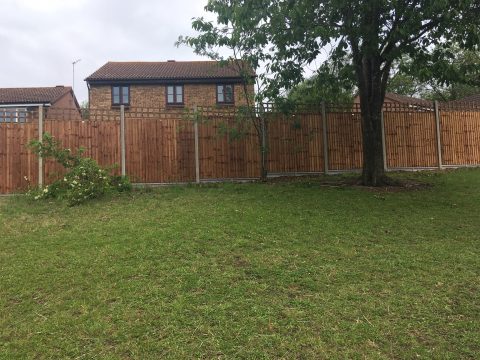
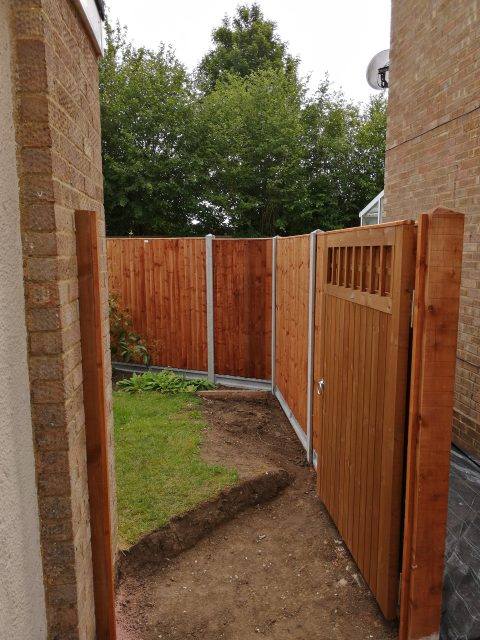
Just finished a job in Aston, comprising of closeboard panels set on concrete gravel boards, supported by concrete slotted posts, plus installing a bespoke width Langley gate.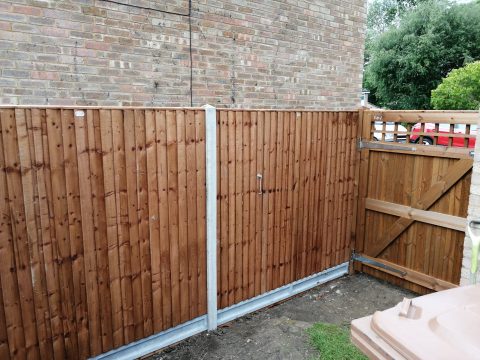
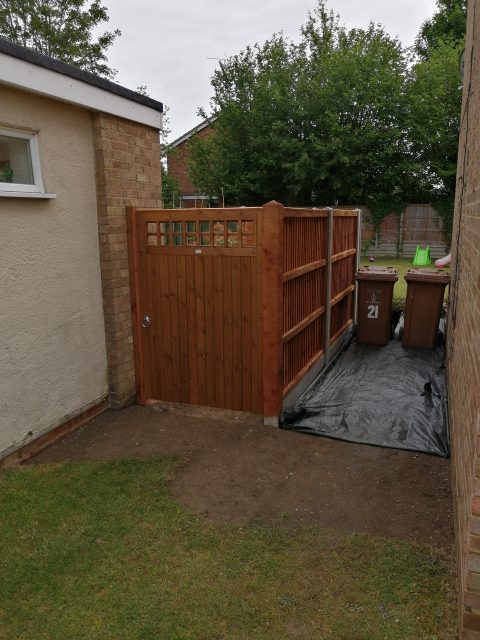
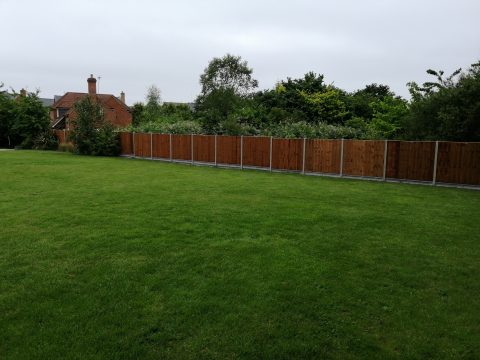
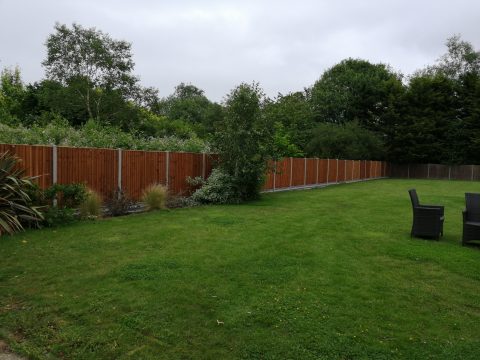
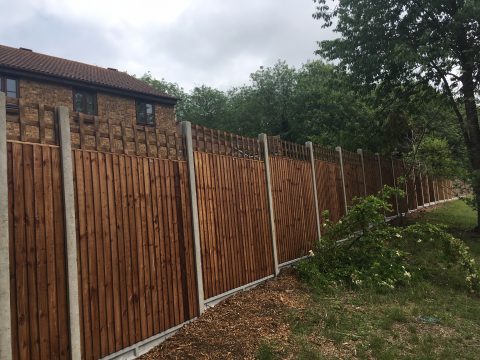
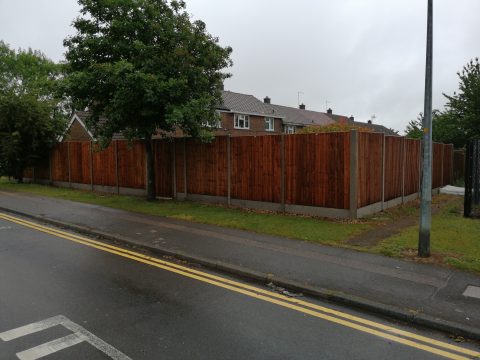
We have recently finished a job in Stevenage comprising of 6ft high closeboard panels set on 12 inch concrete rock face gravel boards, supported by concrete slotted posts, including the removal of the old fence. We also installed a matching closeboard gate.
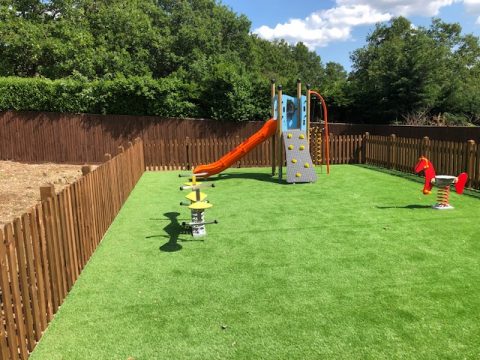
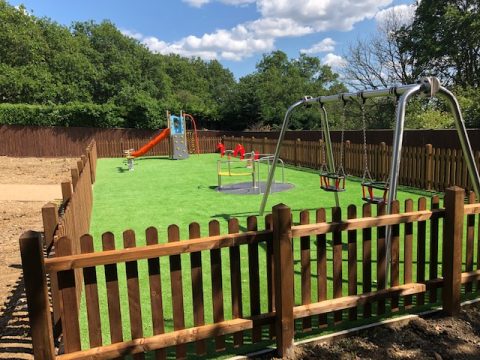
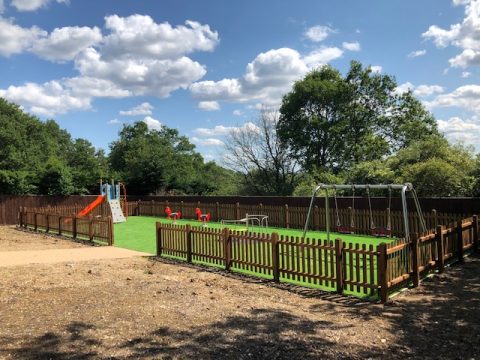
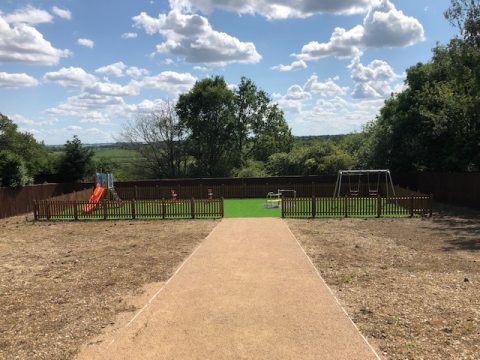
We just completed a round top planed all round picket fence around children’s play area, to a property in Cuffley. The fence comprised of .900mt high x 75mm x 22mm round top palings, clad to 2 x horizontal 75 x 50mm full weathered cant rails, supported by 100mm x 100mm four way weathered timber posts at 1.5mt centres.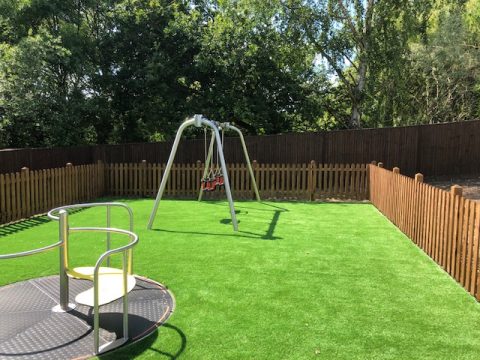
Additional comments made “Excellent, quick job”
Mr Tooke from Hitchin.
![]()