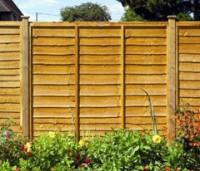
Choosing Fence Panels | Options for Timber Buildings | How to Install Panel Fencing | Assembling Timber Buildings | How to Guides
A step-by-step guide to installing panel fencing on timber or concrete posts.
Tools Required
- String line
- Spirit level
- Hammer
- Grafter or spade
- Shovel holer
- Tape measure
- Saw
Fixings Required
- Panel clips
- 40mm galvanised nails
Step 1
Ensure the area is clear from obstructions such as old fence posts, bushes, or anything that may interfere with the new fence line.
Step 2
Check all underground services. The area must be clear of pipes and cables for at least two feet underground. Erect the string line to mark the fence boundary.
Step 3
Select your concrete or timber post.
Step 4
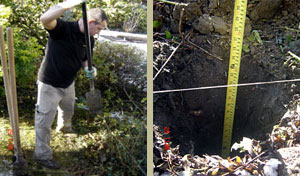
Dig a two foot deep hole and insert post.
Step 5
Ensure that the post is the correct height for the fence, allowing for gravel boards if used. Use a spirit level to make sure the post is upright. Put Rapid Set Post Kwik into the hole, add the correct amount of water and mix.
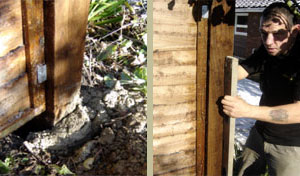
Step 6
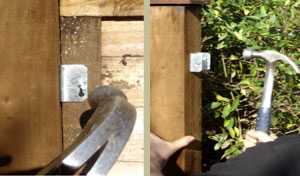
Step 6 Attaching panel clips.
Concrete slotted posts do not require panel clips. For wooden posts attach the panel clips to the posts and then fix the panels to the clips. Keep a spirit level on top of the panel to make sure the fence remains level on top.
Step 7
Repeat steps 4, 5 and 6 until all your panels are installed. The last panel may need to be reduced in width to finish off the gap. This can be done with a handsaw.
 Measure the length of the proposed new fence line. As a rule your new panels will be about six feet wide, so divide the length of your fence in feet by six to get the number of panels you need. For example, for a fence 48 feet long you will need eight panels. You will probably want new posts eight panels will need nine posts if you want posts at both ends.
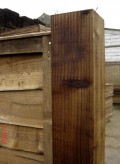
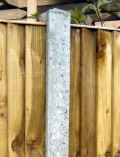 You have a choice between the strength and longevity of concrete posts and the natural appearance of wooden posts. For wooden posts you have a choice of two sizes, 4 inch square or the cheaper 3 inch square. You also have a choice of post caps.
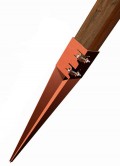 There are two methods of securing your posts into the ground. One is to concrete them in, the other is to use metal post anchors.
 Jarrett fencing have a wide range of
  We can deliver nationwide. Please view our
